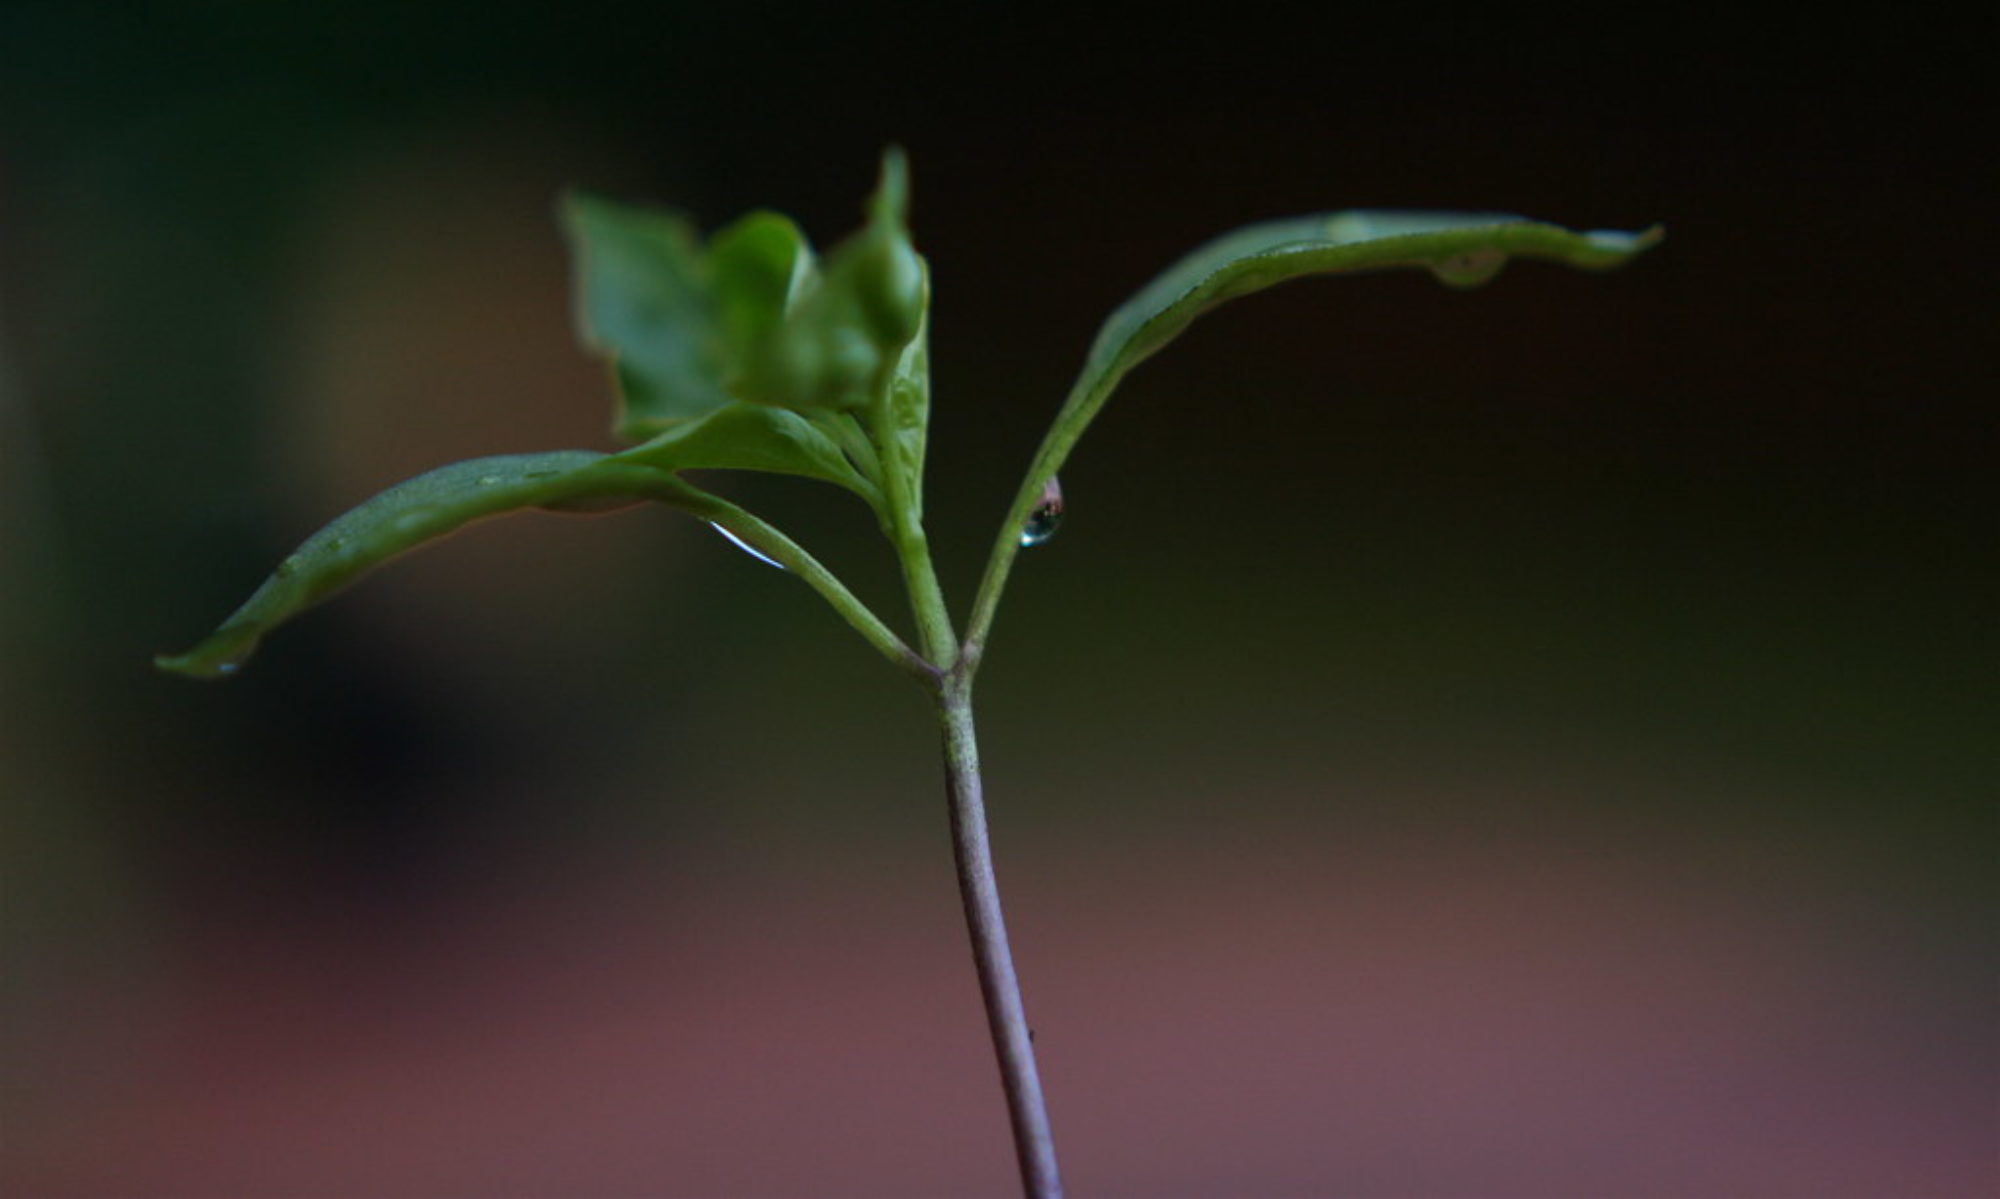
COVID quarantine can be stressful, especially for those of us living in apartments or other small, urban spaces. A perfect way to alleviate the stress of enclosed spaces is to grow a plant from seed. Seeing a plant emerge from a seed is a positive, productive feeling that gives people a sense of control of their destinies and of closeness with nature. Tomatoes are one of many perfect candidates for container gardens in apartments. They are relatively low-maintenance, high-yielding edible plants, and most people would attest that the flavor of a homegrown tomato far surpasses store-bought tomatoes.
Making More Tomatoes: A Container-Based Tomato Patch
Store-bought tomatoes are harvested early, left to ripen in transit, and are incredibly resource-intensive for transportation and packaging. Home-grown tomatoes, on the other hand, are a delight to the senses, and perhaps the most satisfying plant a beginner gardener can experiment with.

Saving tomato seed is so easy, there’s really no need to spend money on seed. If you like the flavor of a tomato, you can choose to grow that exact kind. For us, we love the sweet flavor of Sungold cherry tomatoes, and decided that we wanted to grow as many of them as possible.

Egg cartons are perfect containers to start seeds in. They are readily-available, compostable, and the eggshells are a biodegradable container that provides nutrients to the plant as it breaks down.

We filled the eggshells with potting mix. (We used G&B Organics’ Potting Soil, but you can include any rich, well-drained soil with lots of organic matter incorporated in. ) We filled each eggshell with soil, and poked a pencil in the center of the soil to create a hole for the tomato seed. We then planted the seeds in the holes and covered them up with soil. Finally, we watered them in, and their journey to full-sized tomato plants had begun.

Once the tomato seedlings were big enough, we needed to transplant them from the eggshell to a larger container. Items that would otherwise become waste, such as used red solo cups, ice cream pints, and cardboard coffee cups, can live a second life as plant containers. They can be re-used every year, eliminating these items from the waste stream. The seedlings in the eggshells were ready to be potted up into these containers when the true leaves became more prominent than the seed leaves (cotyledons). This was 21 days after the seeds were planted. Now the tomato seedlings would be able to grow into starts and stretch out their roots into these small containers, which can fit on a windowsill.
The red solo cups would allow the tomatoes to grow into starts, but we needed a container that would be the permanent home for the fruiting plants. A quick check on Facebook Marketplace later, and we were the proud owners of 24 5-gallon buckets.

We decided to do a double-bucket system: we drilled drainage holes into the top bucket and placed it inside the bottom bucket. The bottom bucket acts as a reservoir, allowing the plants to water themselves. It also acts as an insulator, to keep the tomato’s roots warm. We kept an eye on the water level in the translucent bottom bucket to make sure that the plant roots weren’t drowning. We then filled the top bucket with soil and planted the tomato start. We only filled the bucket about halfway, as we plan to add more soil as the tomato grows, as tomato plants love to be buried, and will generate new roots along the stem as they get access to the soil.

The tomatoes grew quickly in their 5-gallon homes.


The Phoenix: A 2 year old Overwintering Indeterminate Tomato


As our growing seasons are long here in the Pacific Northwest, we brought a potted tomato plant inside in winter 2019, and it kept producing tomatoes until well into November. For the next few months, it was an attractive vine in the corner of our guest room.


The plant fought hard against the adverse indoor winter conditions: still, humid air and a decrease in sunlight. Powdery mildew claimed most of its leaves. But by Spring 2020, it had prevailed, and we brought it outside to see if it would have a second year of production. The dead leaves fell off and were replaced by new growth. By May, we had pea-sized tomatoes hanging from the gangly, ancient vine.


Plastic Bowl Hanging Basket
We had a set of nesting plastic bowls with lids that we weren’t using, so we decided to experiment with making a 4-tiered hanging basket out of it.


